If you read my previous blog post, then you have probably surmised by now that I’m not a big fan of managing Windows 10 PCs with Microsoft Intune as computers. Not everyone agrees with me though so if you still want to manage Win10 PCs as computers with Intune, go read my last blog post to see how. Make up your mind now though because after you enroll a Win10 PC into management with Intune as a mobile device you cannot install the Intune client software to manage it as a computer. If you really want to install the client software you’ll need to un-enroll the device first.
Anyway, moving on. Before you can get fancy managing Win10 with Intune via OMA-DM, you obviously have to get the devices enrolled into the Intune service. And, like most things these days, there are several ways to get this done. Don’t worry, I’m going to talk you through some prerequisites and then show you two common ways of doing it. There are several different paths you can take based on things like what version of Windows 10 you’re enrolling, whether or not you have Azure AD Premium–or have it configured for Intune auto-enrollment, if the device is going to be Azure AD Joined or joined to your local domain (or workgroup), if you want to use Workplace Join or not, etc. For the sake of this post (and my sanity), let’s assume these things:
- You have Azure AD Premium and have created user accounts or synchronized on-premises user information to Azure AD.
- You have permissions, or at least know someone with permissions, to review or make changes to your Azure tenant settings.
- You will be enrolling Windows 10 1607 computers as mobile devices.
I’m not saying those things are always required for Win10 enrollment into Intune, but that’s where we’re starting from today.
Before you start
There are a few things you need to get sorted before you start enrolling PCs into management. First, if you aren’t currently managing your organization’s Azure AD Premium tenant, then you’re going to want to go make friends with whomever that person is. Intune is built on Azure AD and there are quite a few touch points that you’re going to want to keep in sync. I’ll point those out along the way as we hop between the clouds.
You’ll need to talk to your Azure AD buddies to ensure the Azure AD Premium tenant is configured thusly:
- You have users in Azure AD who can enroll a device. Chances are your on-premises user accounts have already been synchronized with Azure AD using Azure AD Connect, but if not, now’s the time to get the ball rolling on that.
- There is an Azure AD group containing the users who will be enrolling Win10 PCs (assuming you don’t just want to open the flood gates to all users). This might be a good time to be sure you’re listed as an owner for that group too. Just saying.
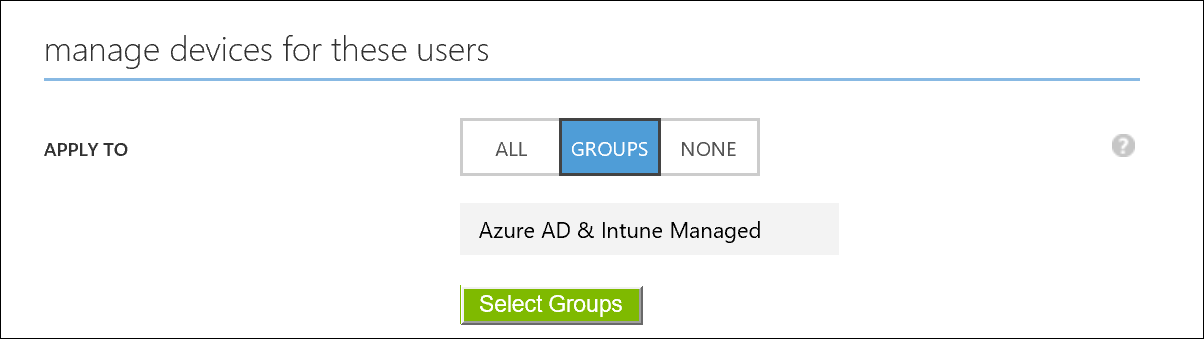
- The Microsoft Intune app is enabled in your Azure AD tenant. If it’s set to NONE, it’s not enabled. In that case, just enable the feature by configuring it to manage devices for the users in the previously mentioned group. In this example I’ve enabled auto-MDM enrollment for Win10 PC’s used by people in the “Azure AD & Intune managed” group. You can get to this setting in the Azure portal by navigating to: Active Directory > your directory name > Applications > Microsoft Intune:
- If those previous bullets aren’t your style because you don’t have Azure AD Premium, or if you just want to make things hard on yourself by not enabling auto-MDM enrollment, then you’ll have to go check that device registration is enabled for your Azure AD tenant users. Pro tip: if you enable the Intune application in Azure AD, device registration will automatically be enabled and you won’t be able to turn it off (the button is disabled). You’ll find this setting at Active Directory > your directory name > Configure > Devices section:

- Unsurprisingly, you will also need to ensure that users are licensed to use Intune and you have some Win10 Intune Configuration policies in place so that you’re actually managing the PCs once they are enrolled.
Did you go check on those things yet? No? Go ahead, I’ll wait.
Auto-enroll into Intune MDM via Azure AD Join (most likely corporate owned devices)
This is by far the easiest way for users to enroll a Win10 PC into Intune management–assuming you have Azure AD Premium and you’ve properly configured it (if you don’t have the Premium version of Azure AD, you can still use the manual method below this one). Use this method when your user accounts reside in Azure Active Directory and you also want their PCs to be joined to Azure Active Directory.
Tip: You can join a workgroup PC to Azure AD at any time, but this typically happens during the OOBE (Out Of Box Experience).
Using this method, users join their Win10 devices directly to Azure AD, get immediate access to Office 365 resources through Single Sign-On (SSO), and enroll their device into Intune management at the same time. What a deal!
Assuming you’ve properly configured the prerequisites covered earlier, then it’s time to get this party started. Here’s how easy it is for your users to enroll their Win10 PCs into management with Intune using Azure AD Join:
Note: These screen shots are from Windows 10 version 1607. If you’re not seeing the same things it’s probably because you’re using a different version of Windows.
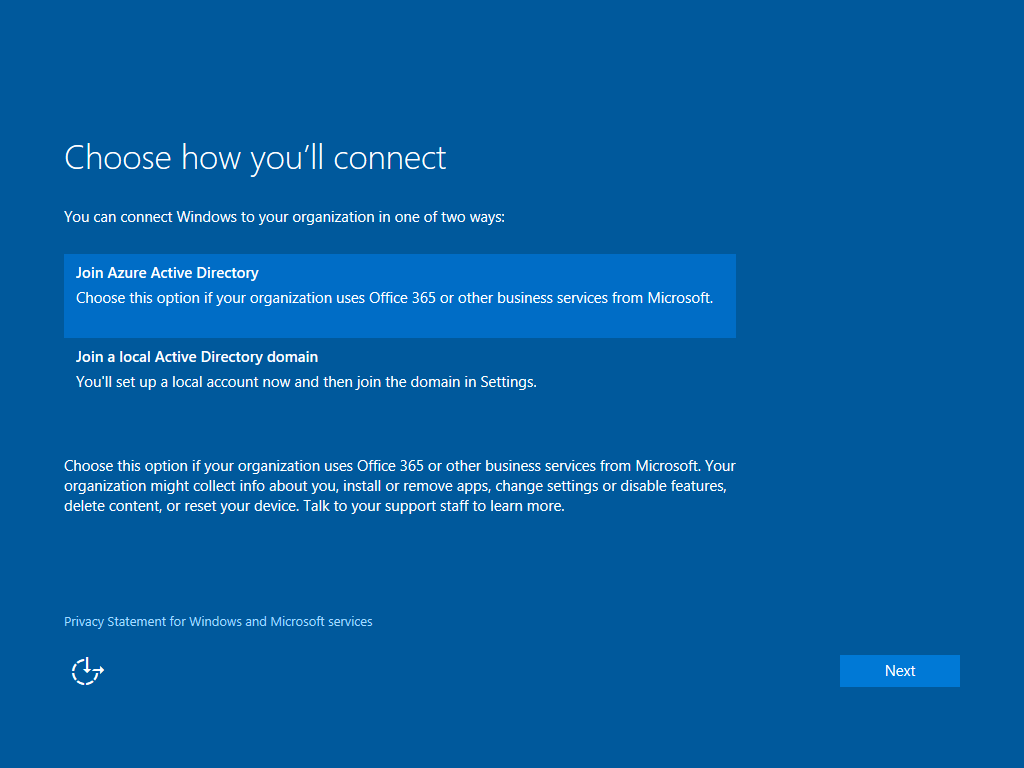
- Your user starts up their shiny, new Win10 PC, progresses through the OOBE and is eventually greeted by the screen asking just what they want to do with this thing. Should the PC be connected to Azure AD or will you join an on-premises Active Directory later (in other words, use this PC in a workgroup)? I’ll bet you already know where I’m going with this–choose the Join Azure Active Directory option:

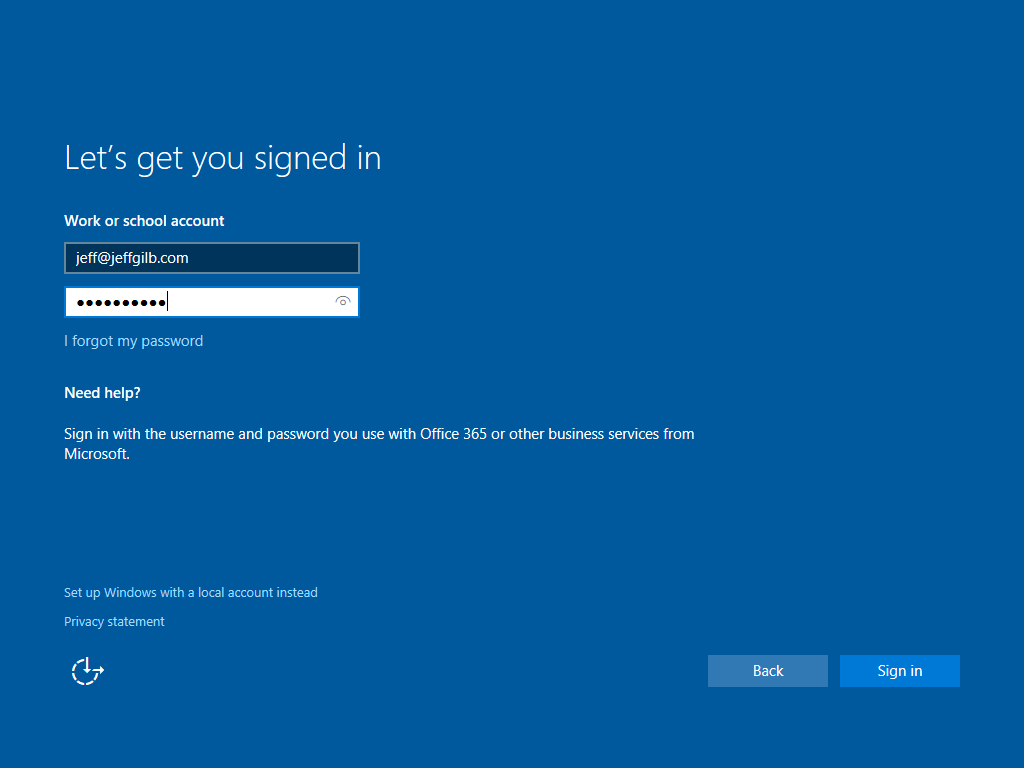
- Sign in with company credentials so the PC knows which Azure AD to join:

- Wait a few minutes while Windows does its thing getting things set up. Chances are the user will now be asked to set up a PIN and maybe do some MFA verification to prove they are who they say they are, but otherwise it’s a pretty straightforward waiting game:

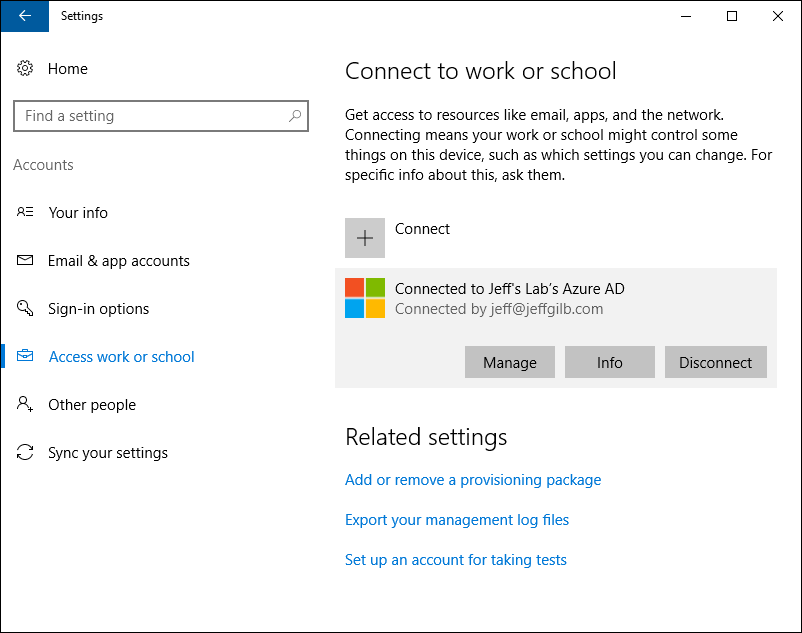
- When OOBE setup is complete, the PC will be registered with Azure AD, Workplace Joined to access company resources, and managed by Intune. You’re done.You can verify this by reviewing the work or school account information found in Settings. When a user clicks on Manage, they will be taken to their Azure AD Access Panel Profile page where they can now manage their profile, change their password, access company applications, and all that other cool Azure kind of stuff. Clicking Info will present the user with the Intune management information as well as provide a way to manually force a policy sync from the PC to the Intune service:

- From your admin perspective, the Win10 PC is now managed as a corporate-owned, mobile device that is linked to the user who ran OOBE. Done. Almost too easy and without any calls to the help desk:

Manually enroll into Intune using Workplace Join (most likely BYOD)
Of course, it’s very possible that not all Win10 PCs in your organization are going to be owned or managed directly via Azure Active Directory. Some of them will most likely be joined to an on-premises Active Directory, in a workgroup, or personally owned. In this case, you can simply use Workplace Join to connect PCs (Windows 8.1 +) with your workplace to enable access to company resources using SSO and get the device under Intune management.
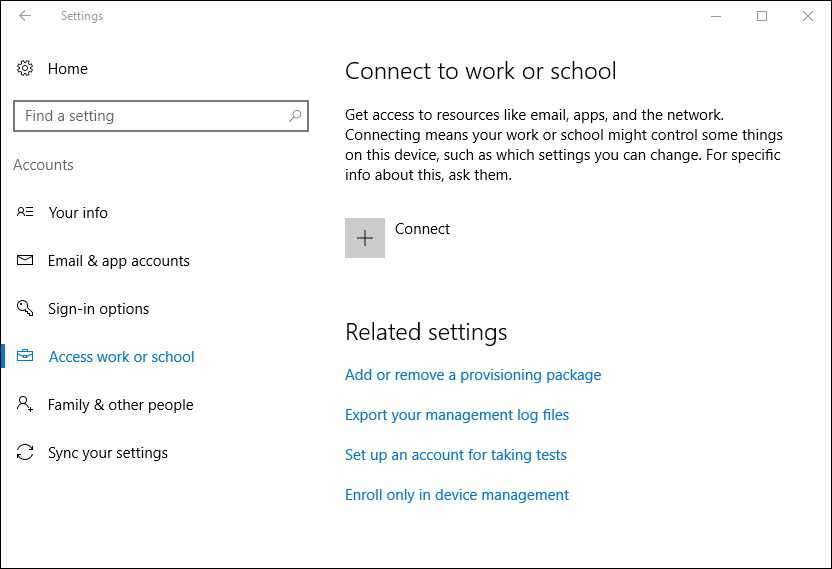
Let me just say this really quick: if you’re used to enrolling other device types into management with Intune then this is not going to look or feel the same. You don’t use the Company Portal app. Instead, this method starts where the last left off-at the Work or school account in Settings (except there’s obviously not going to be an account added there yet!).
Note: These screen shots are from Windows 10 version 1607. If you’re not seeing the same things it’s probably because you’re using a different version of Windows.
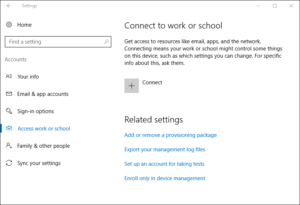
- Navigate to the Win10 account settings and click Connect to add a new Work or school account.
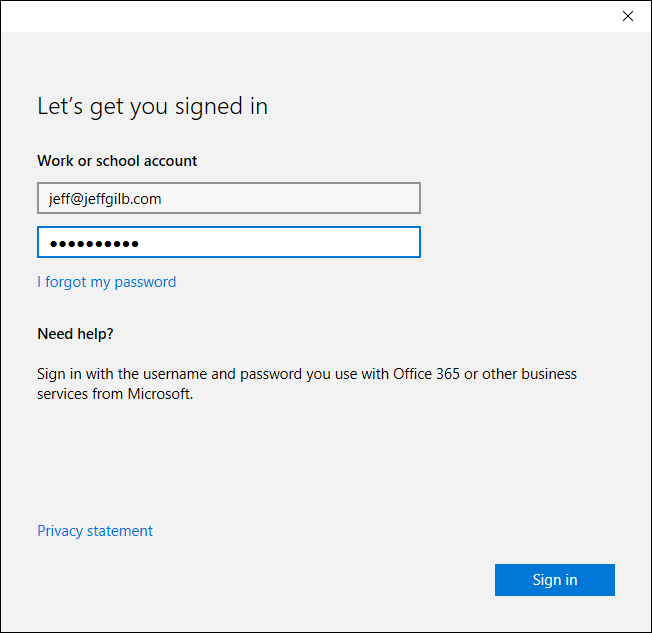
- Sign in with your company credentials so the PC knows which workplace to join:

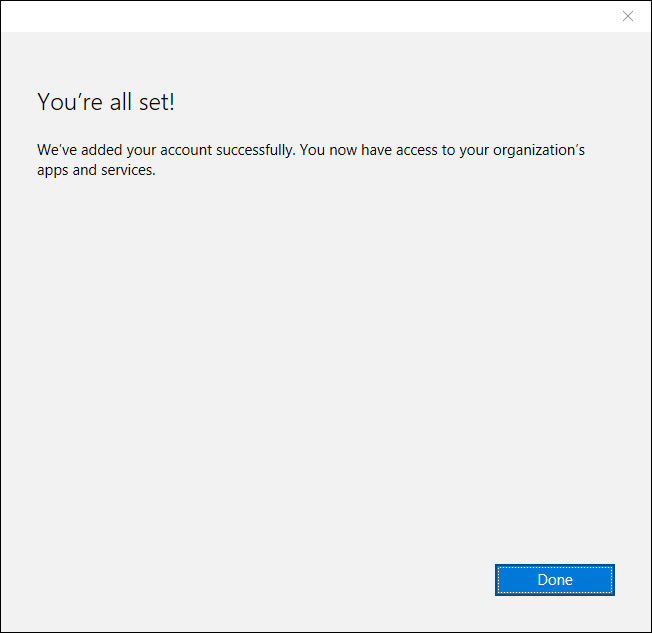
- Once signed in, the device will be registered in Azure AD, Workplace Joined to your organizational data, and become managed by Intune:

- As before, when a user clicks on Manage, they will be taken to their Azure AD Access Panel Profile page where clicking Info will present the user with the Intune management and device sync information:
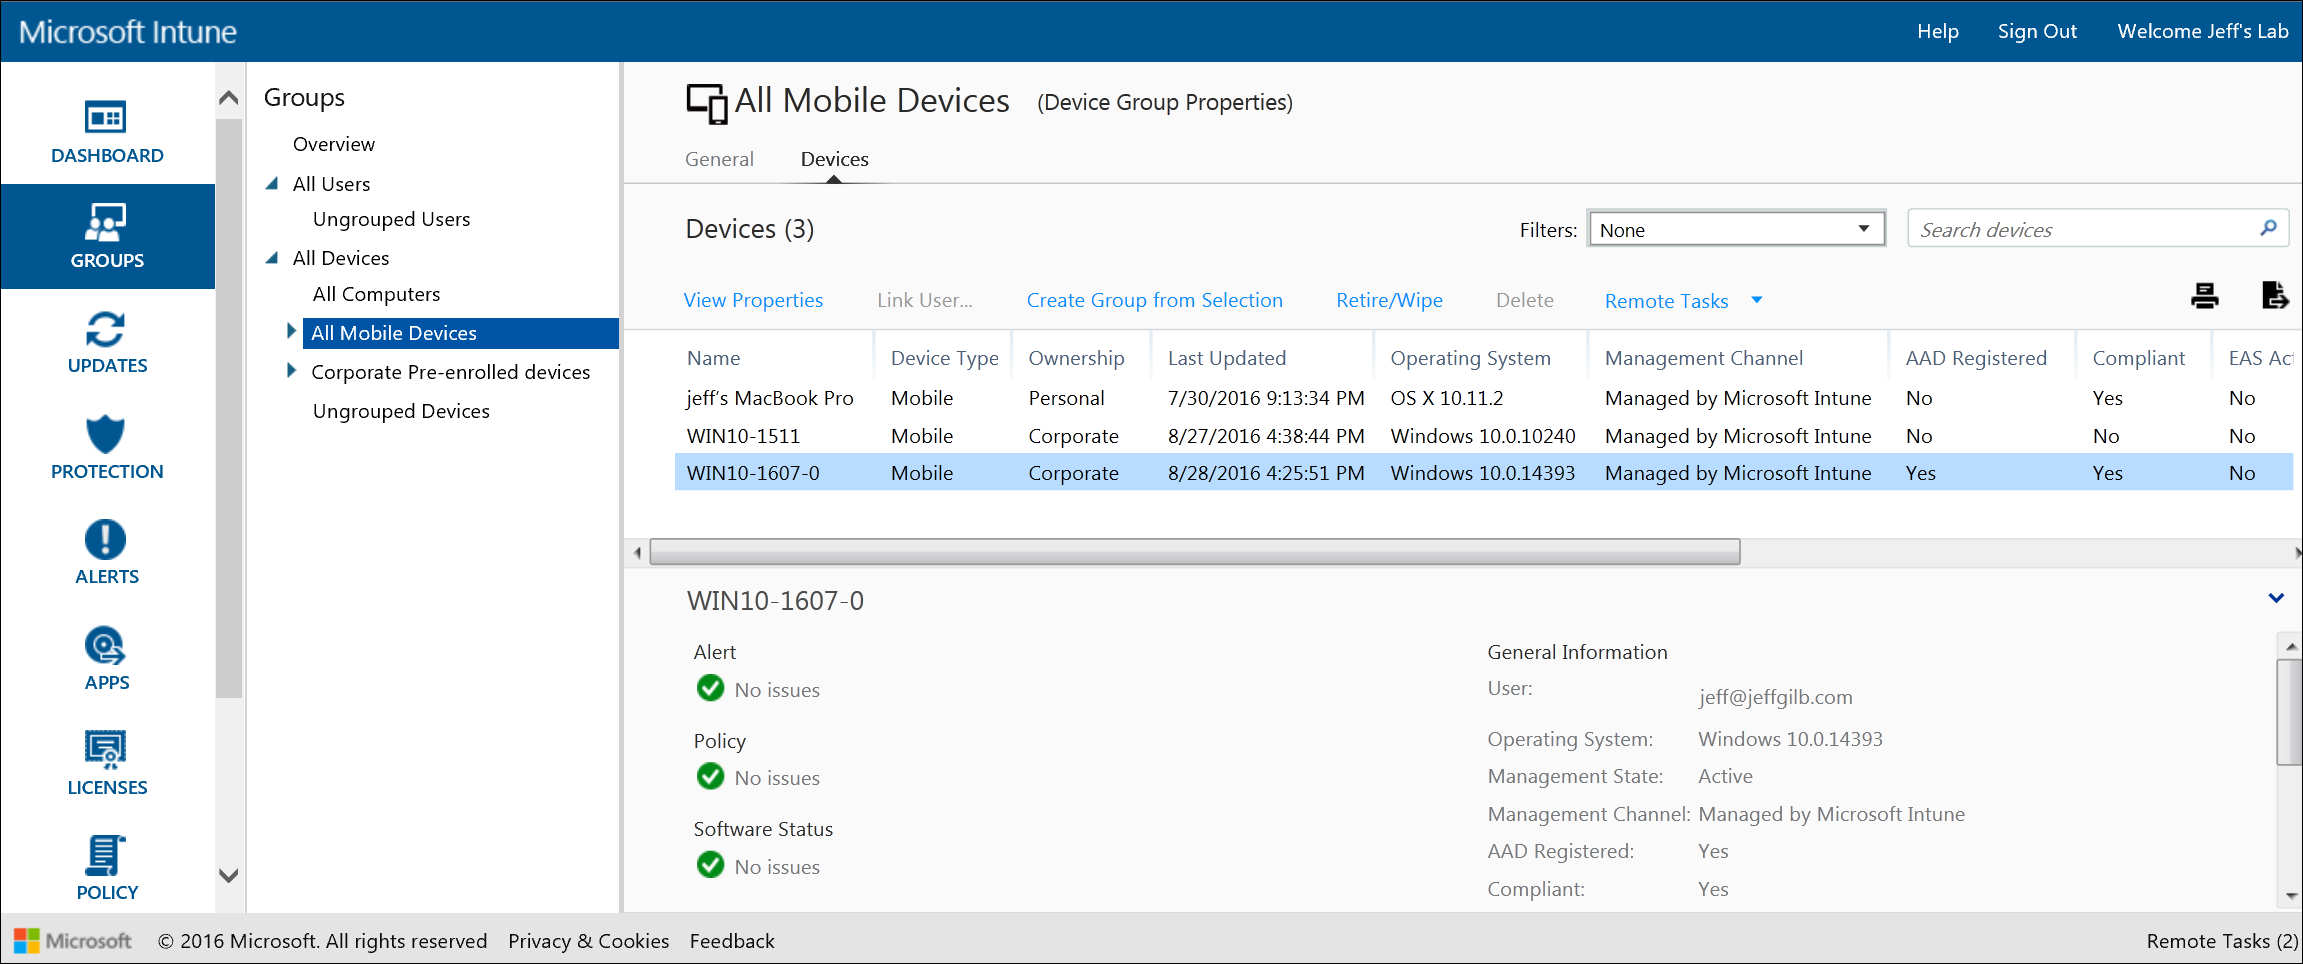
- In the Intune administrator console, you can now see the PC being managed as a personally owned, mobile device that is linked to the account that performed the Workplace Join:

Time to get busy managing these devices
Both of these methods allow Intune to manage Win10 PCs as mobile devices with the flexibility of Workplace Join enabling personal and work related data on the devices to remain completely separate. Protecting company data is a snap too. If you ever want to block a device from accessing company data, it’s easy to do-just click “Block” on the device properties in the Azure AD portal. Beyond blocking, you can perform a selective wipe on Azure AD joined Win10 PCs and, if you really want to make a point, you can perform a full wipe on Workplace Joined PCs not joined to Azure AD.
With Win10 PCs enrolled and managed as mobile devices we can finally dig into the more complex Intune management features available for these devices. Stay tuned: I’ll get into those next.
You’ve seen my blog; want to follow me on Twitter too? @JeffGilb.
![]()